Subarticle of DIYing a plug that fits the... | PlayStation development | Published 2022-02-16 20:34:17 UTC
Alright. The PlayStation parallel port situation at this point is in a terrible place. People are in the best case buying similar connectors and chopping them up to fit in the console (which is probably the most sensible, however I'm not paying >$30 on DigiKey for a single connector + shipping from the US to Europe just to then figure out that it might not work at all), or just ripping them straight out of retro flash carts (please, please, PLEASE DO NOT DO THAT).
I've also read that Cybdyn Systems are manufacturing this connector for their PSIO, but they aren't sharing. (But then again, if they did, the shipping would probably cost at least 1 kidney, so that wouldn't be any good either.)
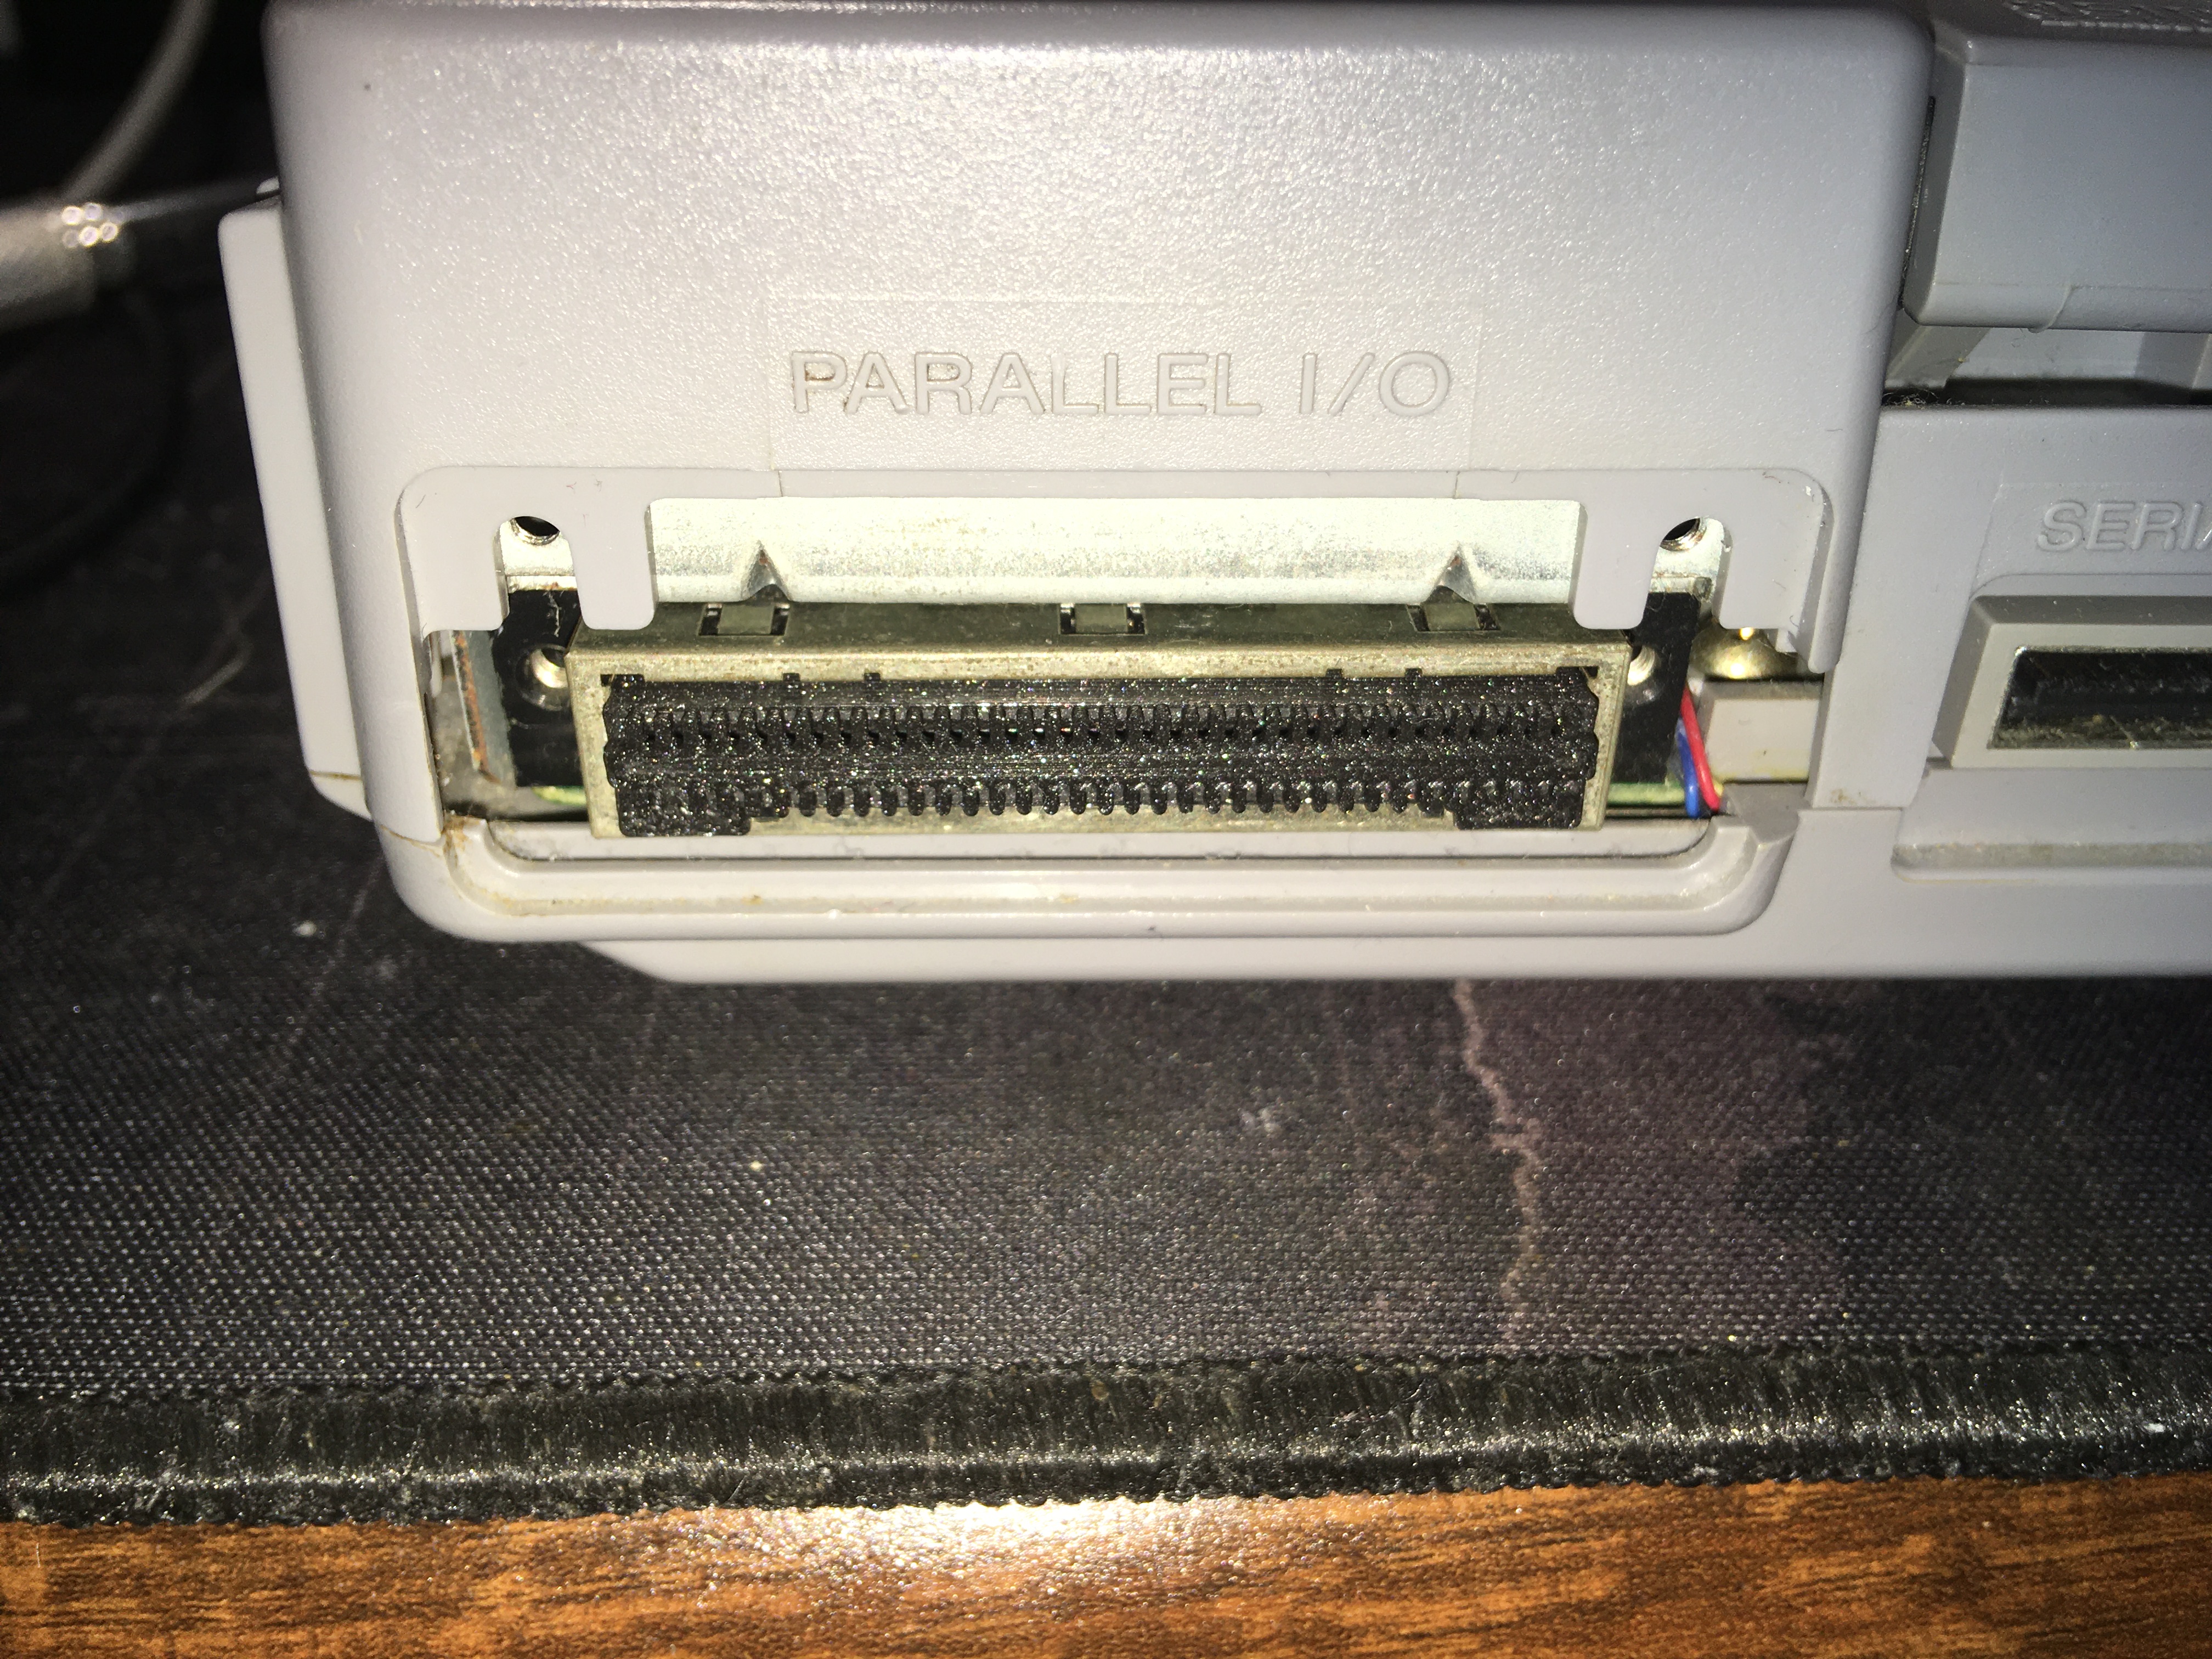
Anyway, I spent a bit of time studying the rear of a PlayStation and wondering to myself if I could manufacture such connector by myself at home. How hard could it be, right? It's just plastic shell with some pins inside!
The Prusa can take care of the plastic part, and I have a box of snipped off LED/resistor/capacitor legs from different projects, so sparing 68 of them to populate the connector is no big deal for me.
So, the materials are at my disposal, the hard part is going to be putting them together to form a functional PlayStation parallel port compatible plug.
I have already created a simple 3D model to see if it could be possible, and so far the future seems bright.
Here it is snugly sitting in the parallel port 😀
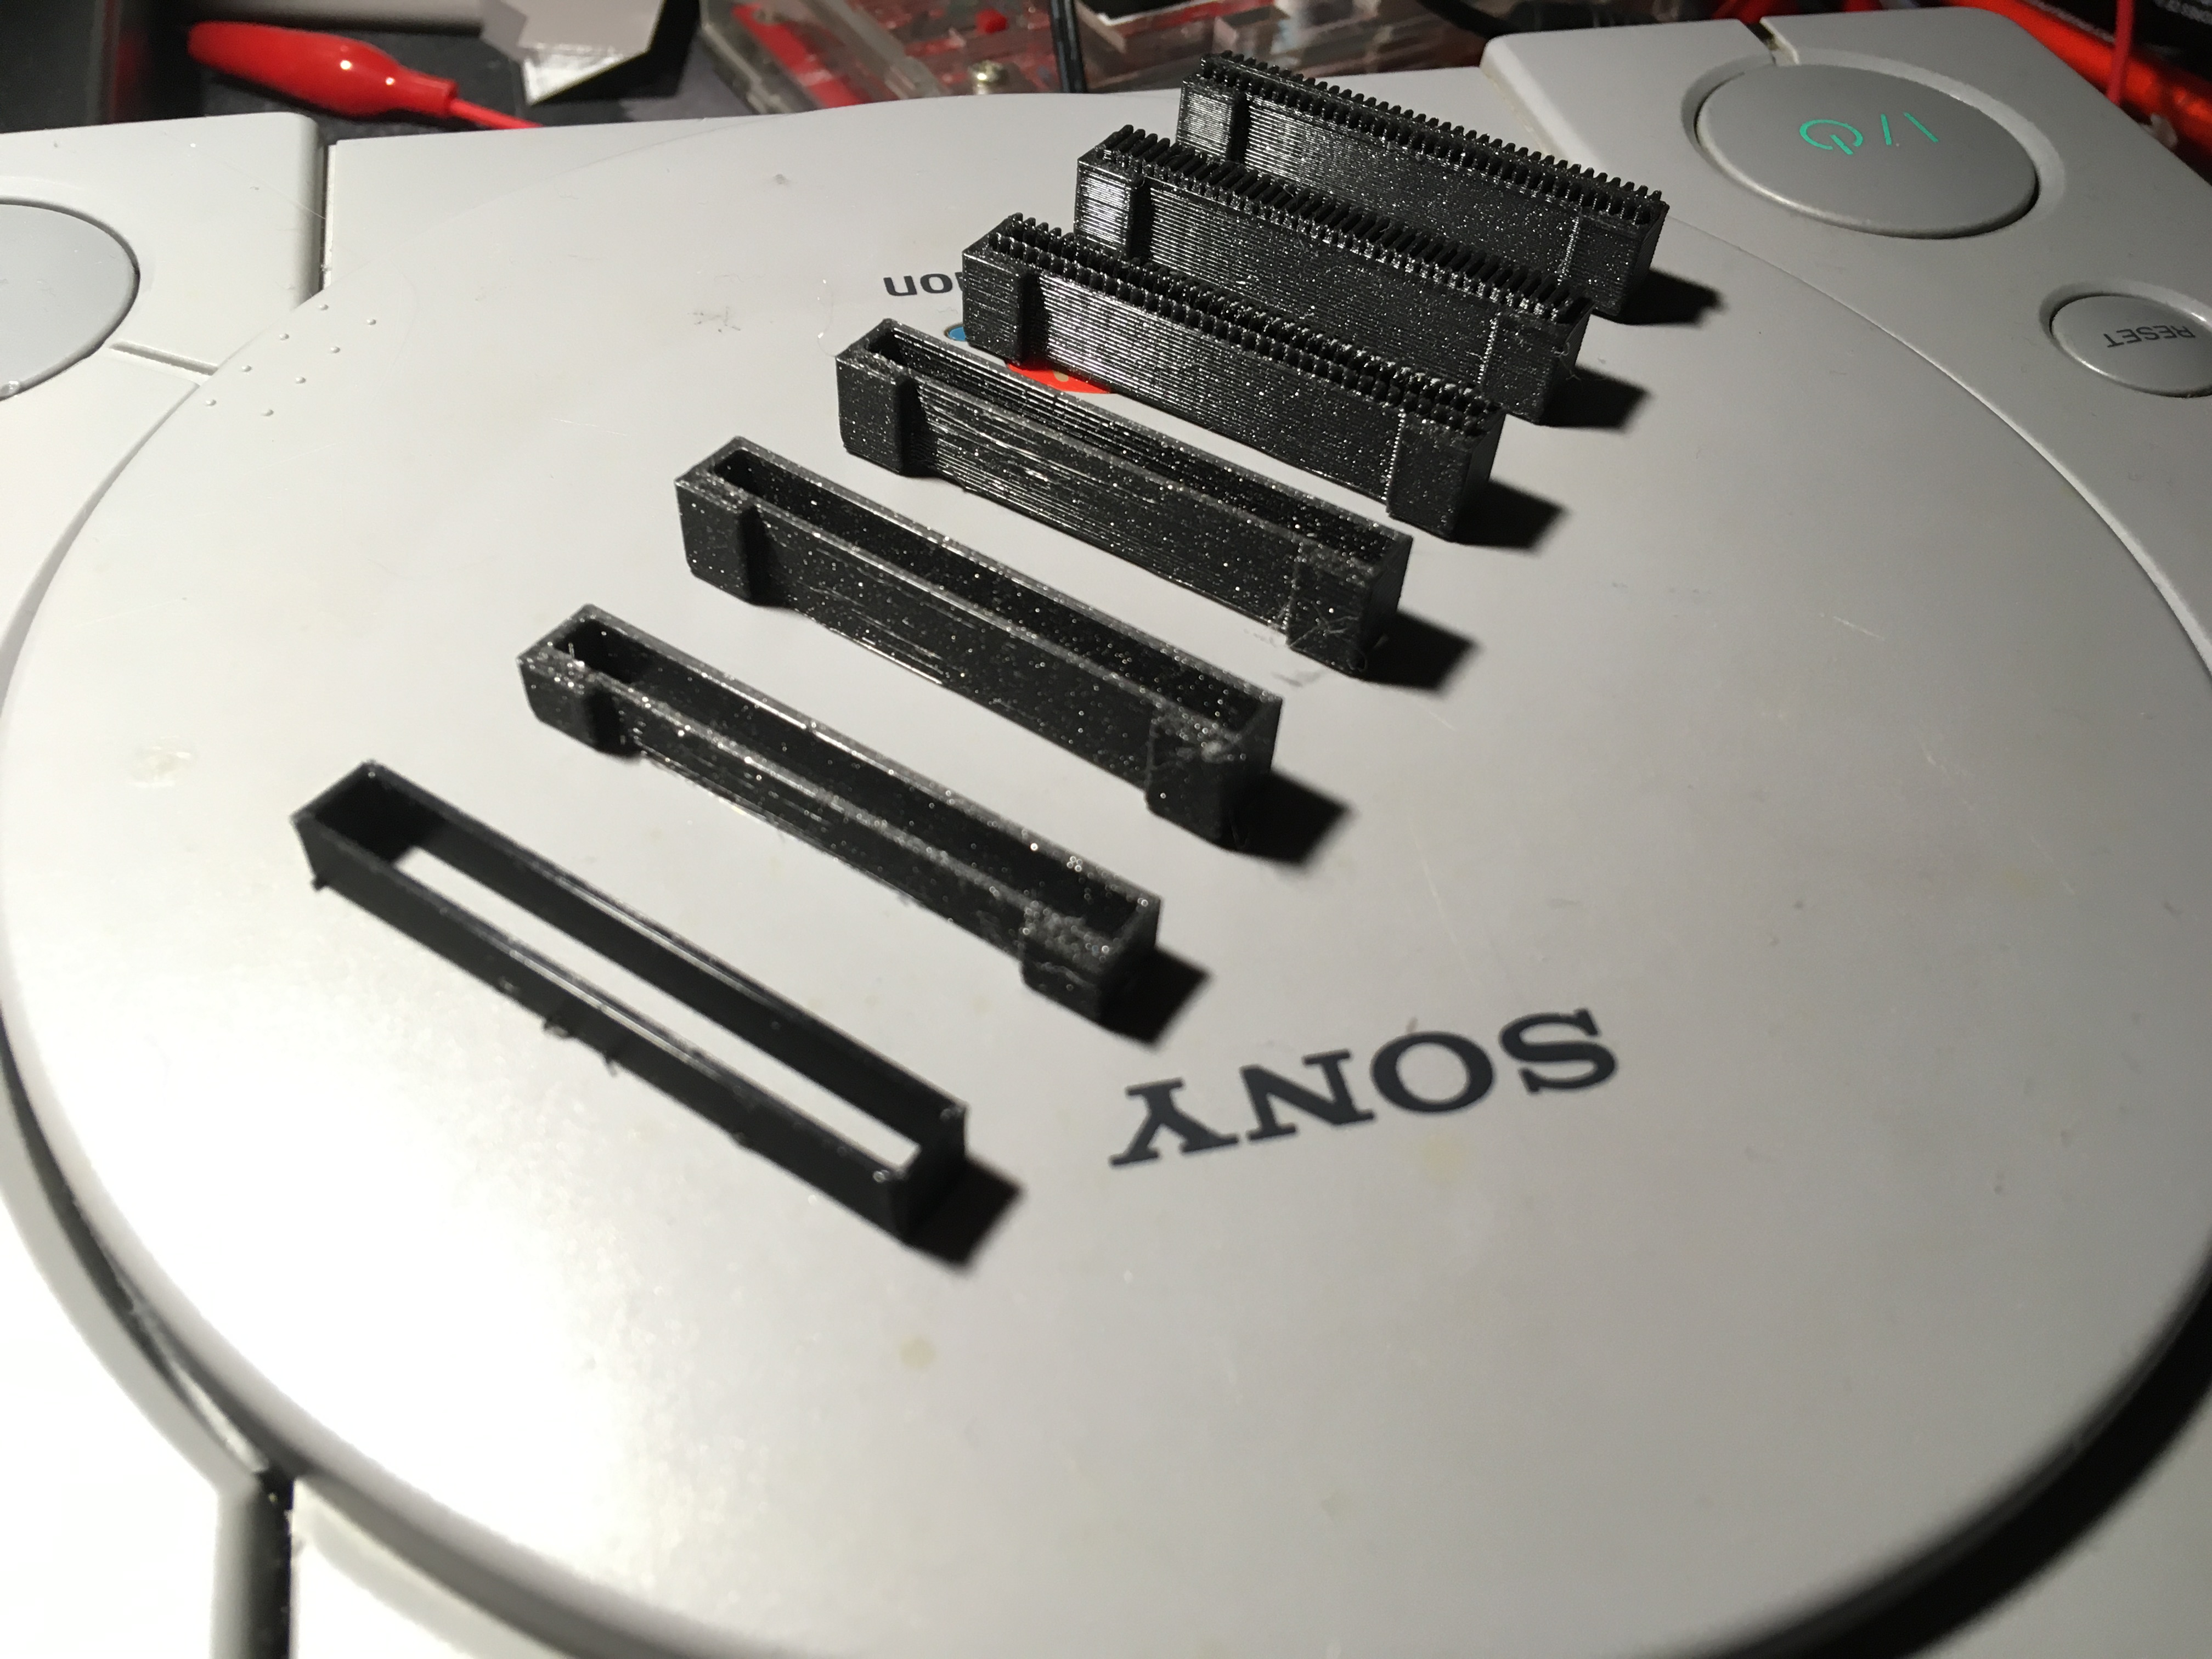
I've already gone through 7 prototype prints 😁
The overall game plan is to:
1) Design a 3D printable plastic part that fits in the PlayStation's parallel port capable of somewhat holding the contacts in place
2) Make a simple jig for creating the required contacts (bend it so that it creates a small "tooth" to "bite" into the PlayStation's connector a little bit)
3) Actually create all of the 68 contacts (I might actually not do all of them, I'll probably just stick to the basic power, ROM control, address and data lines) and populate the printed plastic part with them
4) Test continuity between the plug's contacts' ends and the PlayStation motherboard
5) Find an EEPROM/Flash chip at home that can run on ~3.5 V (or hook up a level shifter and a voltage regulator to a 5 V one)
6) Burn some code to the chip (? finally test out my RomBoot project on real hardware)
7) Get the whole setup to boot
8) Profit 😁
So, uh, yeah, that's where I'm at right now. I'll continue on this journey tomorrow by improving the 3D model and fitting the old resistor legs inside.
In order to post a comment or reply to one, please log in or create a new account:
0 comments total, 0 shown | Go back to the top