Subarticle of DIYing a plug that fits the... | PlayStation development | Published 2022-02-18 21:33:02 UTC
Hello everyone yet again! 😀
First of all, I have slightly modified the model of the connector's base – I made the pin holes a bit larger, since inserting them was impossible in certain holes due to printer inconsistency (printing 0.6 mm wide holes is a hard, trust me – now they are ~0.7 mm in diameter, and the pins now fit much better).
Speaking of the pins, the jig for making them is finally complete!
The model and its OpenSCAD source code are available in the same GitHub repo as all of the other part(s) of the project. It consists of a top and a bottom part. You insert your spare component leg inside the bottom part, and you squish it from the side with the top part. You know that it's done when the whole jig forms a nice and even cuboid. It's crude, but it works and prints in only 8 minutes. Click here to see a video of the jig in action.
So I made 2 pins (for VCC and GND), and it was quite difficult fitting them in (they have to be inserted from the part where the connector mates with the console, since they have a "tooth" on their ends), but in the end I got them in there and they do indeed make continuity with the rest of the console after a bit of fiddling. In this video (please excuse the giant mess), I prove that there is voltage coming out of my connector! Exciting stuff! 👍
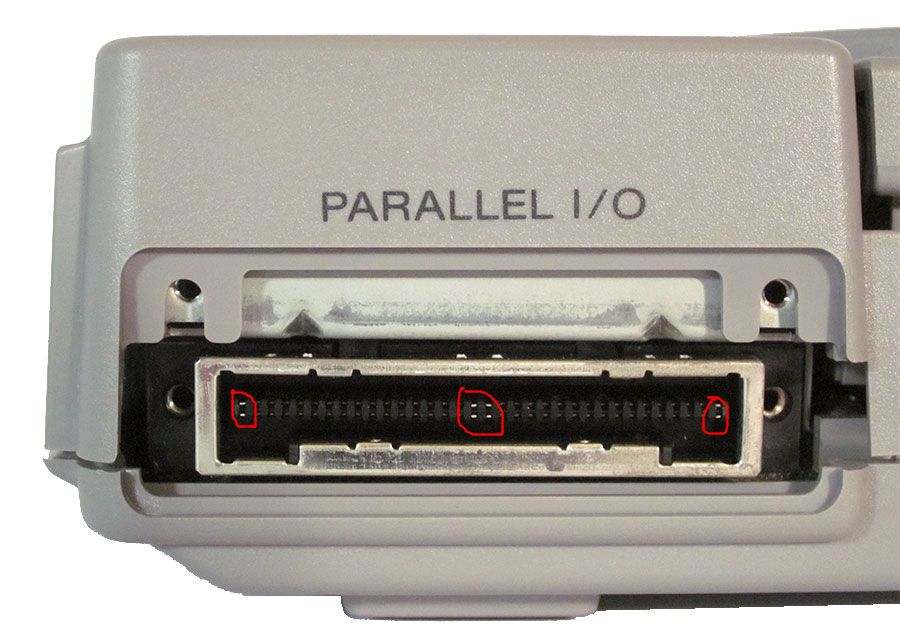
However, getting these particular pins (for power) to work was probably the easiest part, since they are larger than the rest of the pins inside the PlayStation's connector:
I can imagine that hooking up the rest (the control, address and data bus) is going to be an absolute nightmare. Oh well.
I still haven't made the second piece of the connector assembly, I might do that tomorrow – no promises though, I am still deciding on the mechanism which will connect both pieces together and hold them in place. However, I will definitely be making more pins, since I need like 32 of them (well, now just 30 with the VCC and GND done).
Oh, and I have to finally start with my school homework, but that can wait. As always, see you tomorrow! 😁
In order to post a comment or reply to one, please log in or create a new account:
1 comment total, 1 shown | Page 1
Shadow (Archived from PSXDEV.net) | Posted on 2022-02-19 06:34:37 UTC
Very nice research and prototype work! Just contact Cybdyn Systems though. They'll sell you some.
1 comment total, 1 shown | Page 1 | Go back to the top